Select Your Vehicle
- Locate the Data Link Port (shown above). It is located under the Driver’s side dash. Identify ports eight (8) and four (4). Note that the port is wider on the top row and contains ports one (1) through eight (8). The bottom row contains ports nine (9) through sixteen (16). Be sure there are metal pins inside ports 8 and 4. The above diagram is for your reference since the numbers are not on the connector ports.
- Connect port eight (8) to port (4) with a suitable jumper wire. Any short piece of conductive wire will work (i.e. – a paper clip). You will leave the jumper wire connected throughout the programming procedure. The vehicle will respond by locking and unlocking the doors to indicate that the vehicle has entered programming mode.
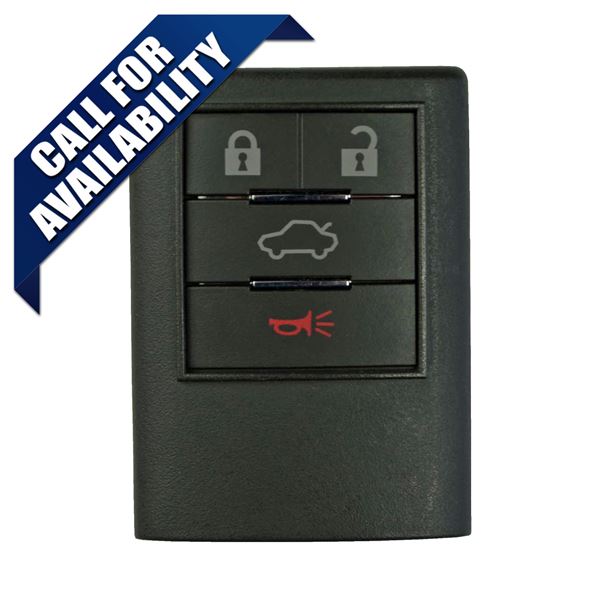
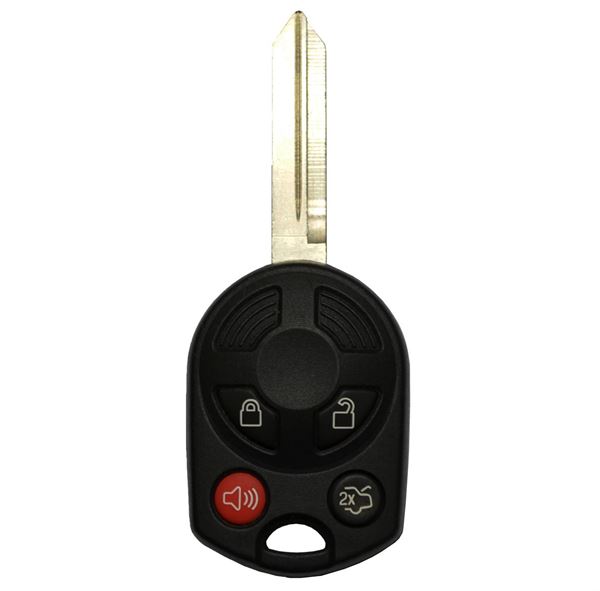
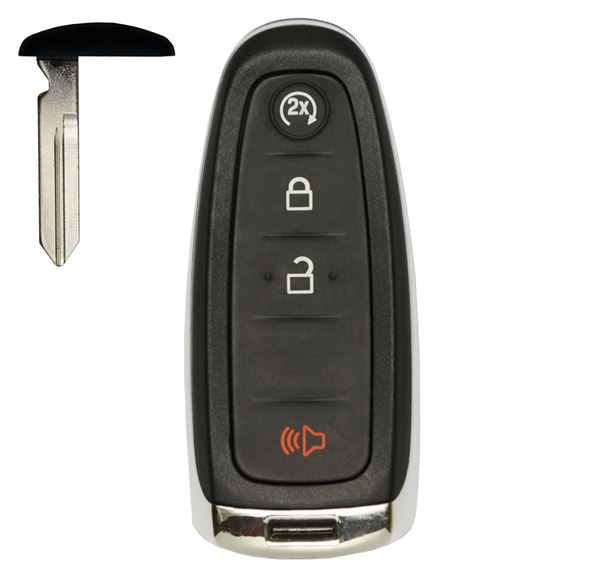
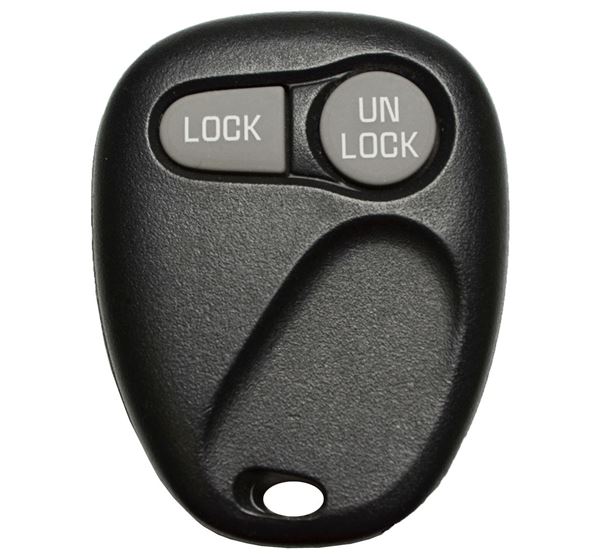
- Press and hold both the LOCK and UNLOCK buttons together on the first remote to be programmed. After about 15 seconds, the vehicle will respond by locking and unlocking the doors. Release the buttons on the remote.
- Within one minute, repeat Step 4 on all additional remotes, including working ones, to be programmed to the vehicle.
- Remove the jumper wire connected to the Data Link Port.
- Test all remotes. Programming is now complete.
Related Products
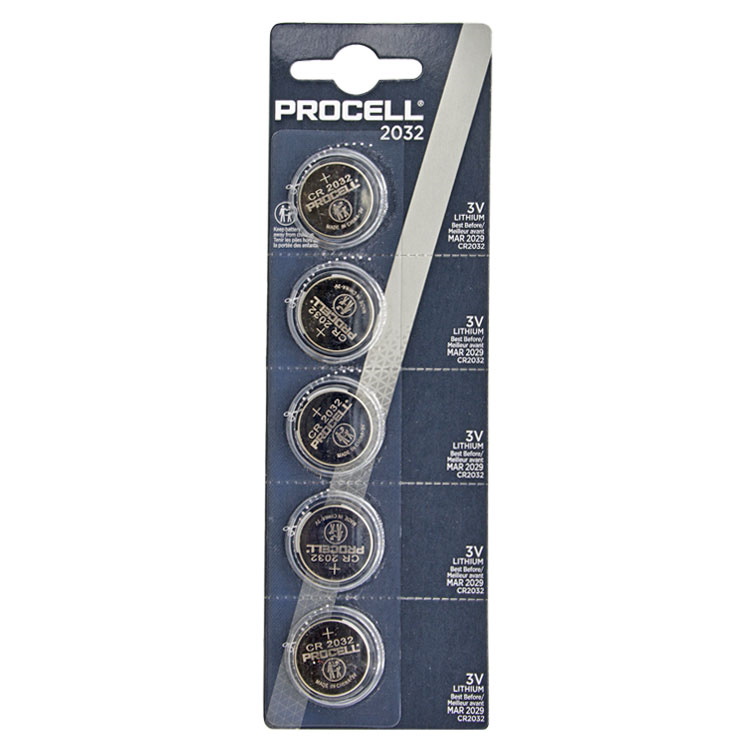
CR2032 BATTERY 5-PACK
OE #: CR2032
SKU: BATTERY-2032-BLISTER

